CINEVISTA Film Emulation - Professional Dark & Gritty 35MM Film Look
Last updated: Oct 24 2025
Overview
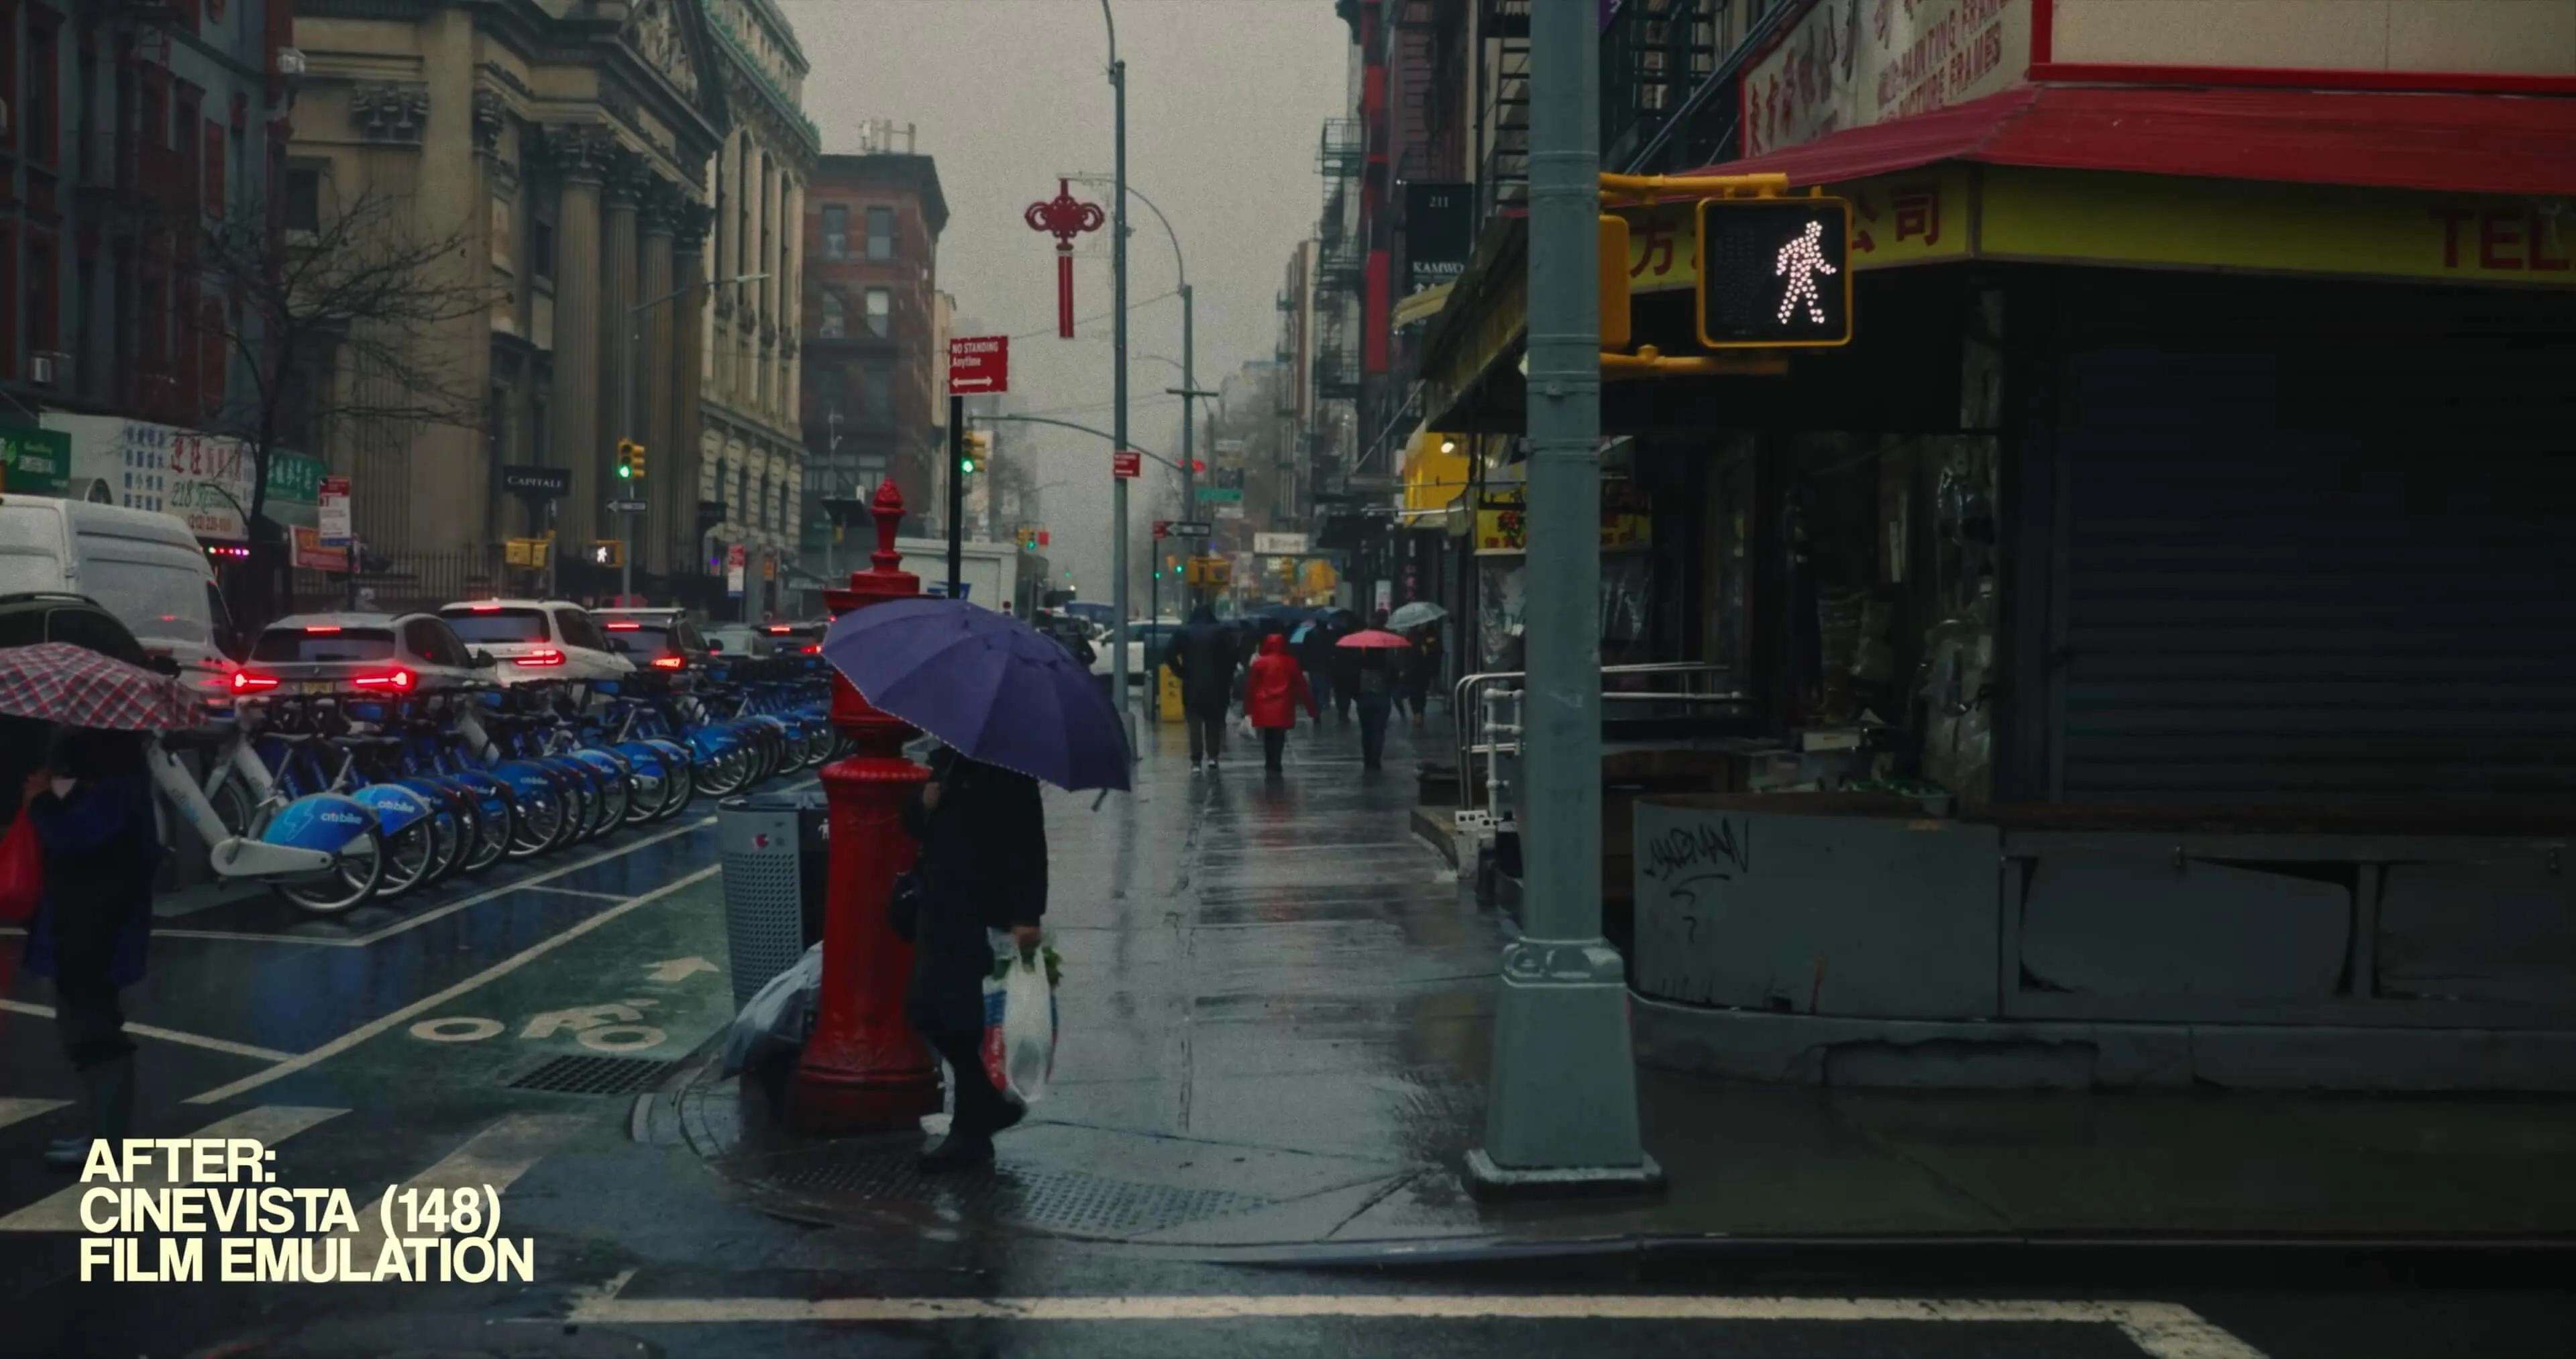
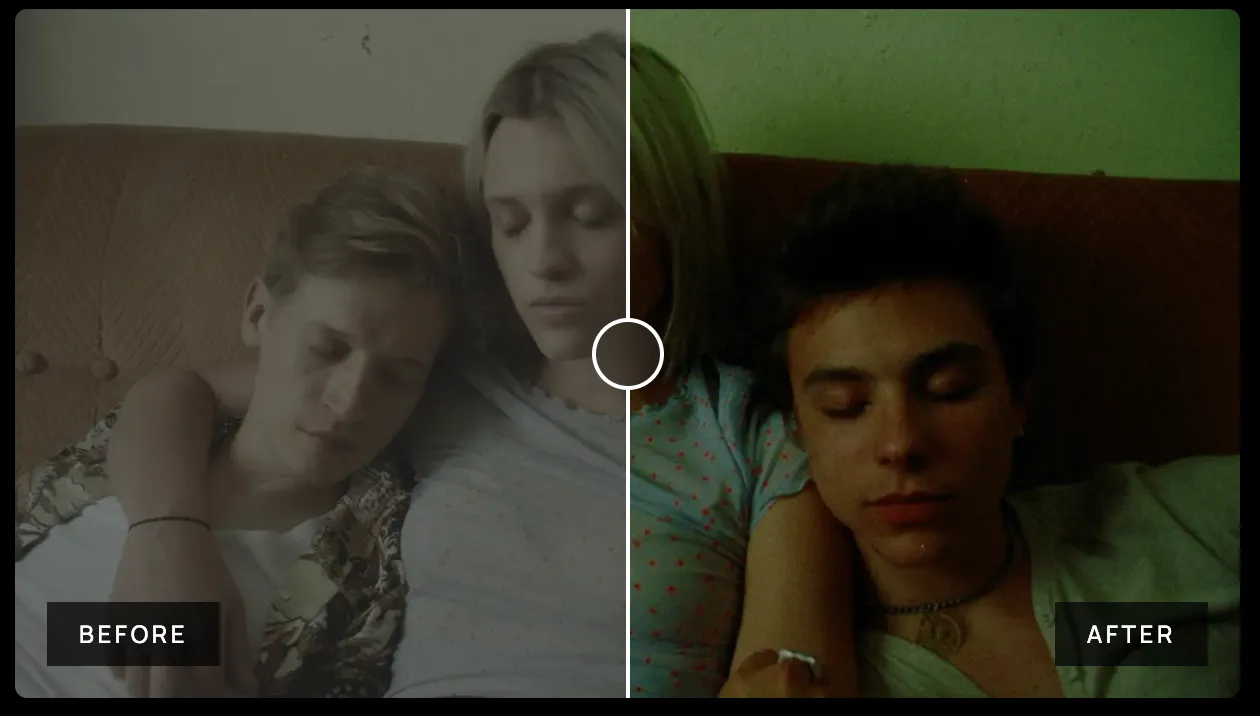
CINEVISTA is a professional film emulation PowerGrade and LUT pack designed to instantly give your footage three striking cinematic looks inspired by the dark and gritty aesthetics of 35mm film. Created by film maker Mason Charles with carefully crafted color workflows, this pack includes practice materials and video references. Perfect for learning and reference.
Features
- Professional 35mm film emulation
- Three distinct cinematic looks
- Dark and gritty aesthetics
- Practice materials included
- Video reference materials
Contact us on 💬WhatsApp for premium access and support.
LUT Variations
148: A bold, stylized look with rich, moody tones—my personal favorite.
219: Perfect for twilight or blue hour scenes, adding depth and atmosphere.
958: A timeless black-and-white look reminiscent of classic 1950s cinema.
PowerGrades are plug-and-play tools for DaVinci Resolve. They're prebuilt color grading templates that instantly apply a cinematic look to your footage. But unlike LUTs, PowerGrades give you complete control over every adjustment—shadows, highlights, contrast, and more—so you can fine-tune every detail to make it your own. With CineVista, achieving professional dark/gritty color grades has never been easier.
Technical Specifications
- System Requirements: Win+Mac
- Software Compatibility: Davinci Resolve
- File Format: .drx+.dpx+.CUBE
- File Size: 1.19G
- Official Link: Visit Product Page
- Download Method: Baidu Netdisk/Cow Transfer (VIP member exclusive high-speed access)
- Tutorial Reference: Official English usage guide
Product Images
Installation Guide
How to Install DCTL Plugins in DaVinci Resolve
Step 1: Open the Project Settings Windows
Open or create a new project. Click on the settings icon at the bottom right corner of the screen to see the project settings window. You can also access this window by going to File > Project Settings or using the keyboard shortcut Shift + 9.
Step 2: Color Management Tab Search the Color Management Tab on the left in the Project Settings window. Click on it to see the new color spaces, transforms, and Lookup Tables options.
Step 3: LUT Folder Scroll under the Lookup Table options and click the “Open LUT Folder” button. When the LUT folder opens in a new window, drag or copy the cube files to import LUTs.
You can organize your LUTs in folders to keep all LUT types on specific folders.
Step 4: Refresh LUTs Return to DaVinci Resolve. Now, you need to refresh the LUT list with the ones you just added.
In the Color Management Tab, click the “Update Lists” button above “Open LUT Folder” in the Lookup Tables settings and then click Save in the project settings window to close it.
BONUS: LUTs Manual Installation Another way to install your LUTs is by manually searching your system's DaVinci Resolve LUT folder and copying the new LUTs there. These are the DaVinci Resolve LUT folder locations for each system:
LUT folder in Mac: /Library/Application Support/Blackmagic Design/DaVinci Resolve/LUT/
LUT folder in Windows: C:\ProgramData\Blackmagic Design\DaVinci Resolve\Support\LUT
LUT folder in Linux: /opt/resolve/LUT
If you install it manually, I recommend copying the LUT file before you open DaVinci Resolve. Otherwise, you must go to the Color Management Tab and update the LUT list. After installing LUTs, they will be available to select inside DaVinci Resolve.
🚀Direct Download Link
Contact us on 💬WhatsApp for premium access and support.