Filtergrade Celluloid Skintone LUTs Pack - Professional Skin Tone Adjustment Tools
Last updated: Oct 24 2025
https://filtergrade.com/product/celluloid-skintone-luts-pack/
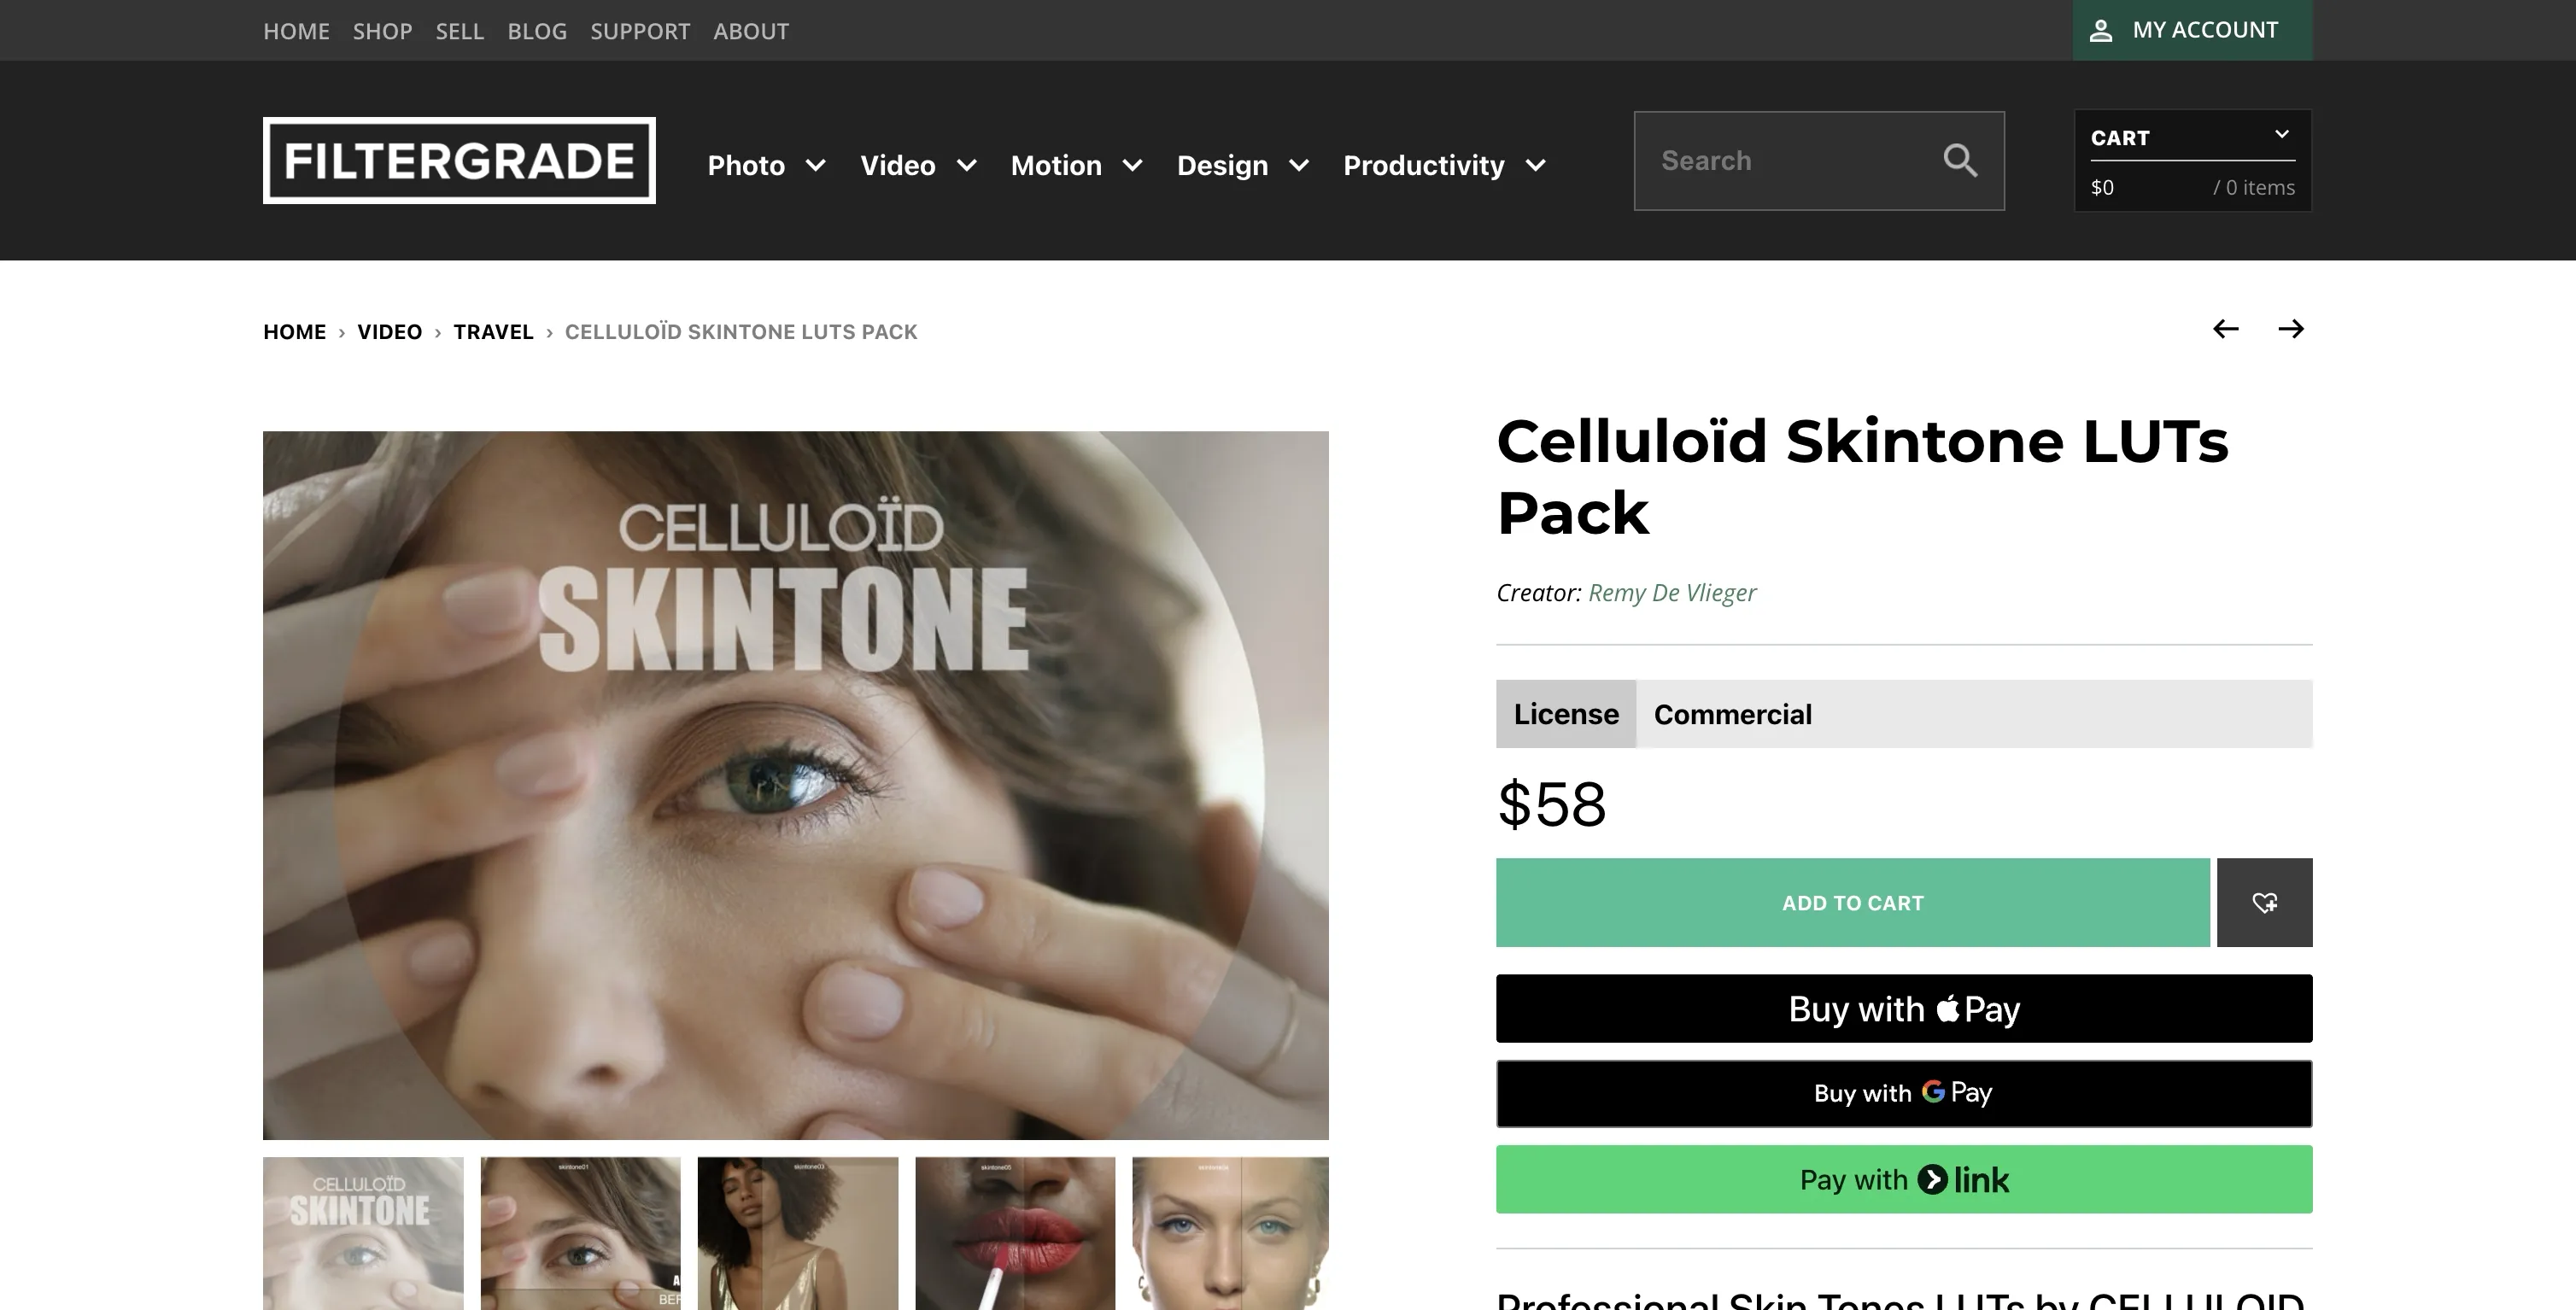
Filtergrade Celluloid Skintone LUTs Pack is a professional cinematic LUT collection for filmmakers that offers amazing skin tone and skin texture adjustments. Developed by Remy De Vlieger, French colorist, alongside his post production team, this package includes 10 LUTs and 4 DaVinci Resolve presets designed to achieve stunning skin tones and textures in your color grades.
- 10 LUTs and 4 DaVinci Resolve presets for professional skin tone adjustments
- High-quality 33x33x33 .cube files for LOG to REC709 colorspace
- Designed for ARRI LOG-C, RED IPP2 and other LOG cameras
- Achieve stunning skin tones and textures in your color grades
- System Support: Windows and Mac
- File Format: .CUBE+.drx+.dpx
- File Size: Approximately 222MB
- Delivery Format: .zip file
- Software Compatibility: Sony Vegas, Premiere Pro CC, After Effects CC, FCPX, DaVinci Resolve
LUT Details
SKINTONE_01: Our everyday 3DLUT for beauty and good skin tone rendering. Perfect for achieving a film/neutral look with natural and rich color palette.
SKINTONE_02: A film-like vintage inspired look with cool/green highlights. Designed to keep natural warm skin tones and a nice highlight feeling. Can be used at 100% or on a 60% opacity layer for a more neutral look.
SKINTONE_03: Perfect to get a Fujifilm look without losing realistic highlights and natural skin tone rendering. Features slightly warm midtones and blue shadows with detail-conservative approach.
SKINTONE_04: Provides a very soft contrast look with amazing dynamic range. Features soft highlights but gives nice skin tone richness, similar to a cineon scan.
SKINTONE_05: The most contrasty 3DLUT. Perfect for achieving a film look without losing realistic skin tone rendering.
SKINTONE_09: Provides well controlled saturation feeling with crispy details on skin tones.
Visual Examples


Installation Instructions
Final Cut Pro X
- Open FCPX software
- Find the [Effects] panel - [Color] - [Custom LUT] and add to your video
- In the [LUT] parameter - [Select Custom LUT...] choose your LUT folder or .cube files
- If selecting a LUT folder, the entire folder will be loaded for easy category management
- Note: Avoid using Chinese characters or special characters in file names
Premiere Pro
- Open the following path:
- Mac:
/Library/Application Support/Adobe/Common/LUTs - Windows:
C:\Program Files\Adobe\Common\LUTs
- Mac:
- Copy your LUTs (e.g., "Log to Rec709") to the above folder
- Create new folders for better organization if needed
DaVinci Resolve
- Open the following path:
- Mac:
/Library/Application Support/Blackmagic Design/DaVinci Resolve/LUT - Windows:
C:\ProgramData\Blackmagic Design\DaVinci Resolve\Support\LUT
- Mac:
- Copy your LUTs to the above folder
All resources are for learning and reference purposes only. Please do not use commercially as this may cause copyright issues. The responsibility lies with the user if any copyright disputes arise.
🚀Direct Download Link
Contact us on 💬WhatsApp for premium access and support.