Serr FilmVision Pro 1.1 - Cinema-Grade Film Emulation PowerGrade
Last updated: Oct 24 2025

https://www.shopmoment.com/products/filmvision-pro
Overview​
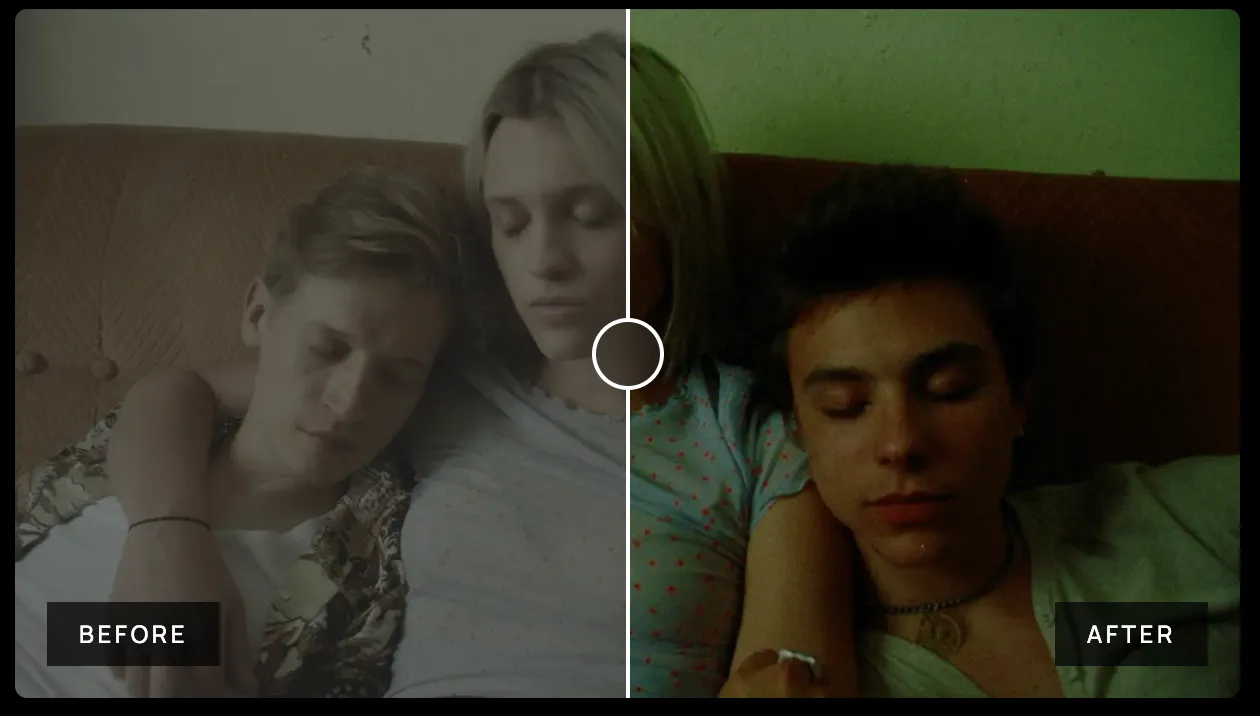
Serr FilmVision Pro is the latest evolution of the film emulation pipeline, designed to accurately replicate the look of digitized negative-to-print film. This comprehensive solution includes cinema-grade looks that work seamlessly alongside the emulation process, creating a flexible and dynamic toolset for color grading. It's considered one of the most versatile color grading solutions available.
The workflow follows a structured and film-accurate pipeline. It begins by converting your digital log input into Cineon Log or a simulated negative film scan, effectively mimicking the first stage of a traditional film process. From there, the image is balanced and refined, then passed through a print film or display transform to prepare it for final viewing.
Key Features​
- Film Emulation – Converts digital log to 500T or 250D film negative (Cineon-style)
- Print Standards – 30 looks based on real film stocks like Kodak, Fuji, Technicolor
- Print Looks – 50 modern, creative grades not tied to film emulation
- Print Mono – 7 monochromatic looks in black & white or color tones
- Utility Tools – Includes Bleach Bypass, Roll-off, Sky Boost, Vision3 Greens, and more
- Halation – Native DaVinci Resolve tools create realistic highlight glow
- Grain & Texture – Emulates 65mm, 35mm, 16mm grain using Resolve tools
- Compatibility – Works in Premiere, Final Cut, LumaFusion (color tools only)
- Plugin Support – Fully compatible with Dehancer, Cineprint, Filmbox, FilmConvert, etc.
- System Requirements: Win+Mac
- Software Compatibility: Davinci Resolve
- File Format: .drx+.dpx+.cube
- File Size: 2.21G
Installation​
How to Install DCTL Plugins in DaVinci Resolve​
Step 1: Open the Project Settings Windows
Open or create a new project. Click on the settings icon at the bottom right corner of the screen to see the project settings window. You can also access this window by going to File > Project Settings or using the keyboard shortcut Shift + 9.

Step 2: Color Management Tab Search the Color Management Tab on the left in the Project Settings window. Click on it to see the new color spaces, transforms, and Lookup Tables options.

Step 3: LUT Folder Scroll under the Lookup Table options and click the “Open LUT Folder” button. When the LUT folder opens in a new window, drag or copy the cube files to import LUTs.
You can organize your LUTs in folders to keep all LUT types on specific folders.


Step 4: Refresh LUTs Return to DaVinci Resolve. Now, you need to refresh the LUT list with the ones you just added.
In the Color Management Tab, click the “Update Lists” button above “Open LUT Folder” in the Lookup Tables settings and then click Save in the project settings window to close it.

BONUS: LUTs Manual Installation Another way to install your LUTs is by manually searching your system's DaVinci Resolve LUT folder and copying the new LUTs there. These are the DaVinci Resolve LUT folder locations for each system:
LUT folder in Mac: /Library/Application Support/Blackmagic Design/DaVinci Resolve/LUT/
LUT folder in Windows: C:\ProgramData\Blackmagic Design\DaVinci Resolve\Support\LUT
LUT folder in Linux: /opt/resolve/LUT
If you install it manually, I recommend copying the LUT file before you open DaVinci Resolve. Otherwise, you must go to the Color Management Tab and update the LUT list. After installing LUTs, they will be available to select inside DaVinci Resolve.
How to Install POWERGRADE Color Correction Nodes in DaVinci Resolve​
Preview Images​

🚀Direct Download Link​
Contact us on đź’¬WhatsApp for premium access and support.