One Click Dust V1.0 - Procedural Dust Effect Add-on for Blender
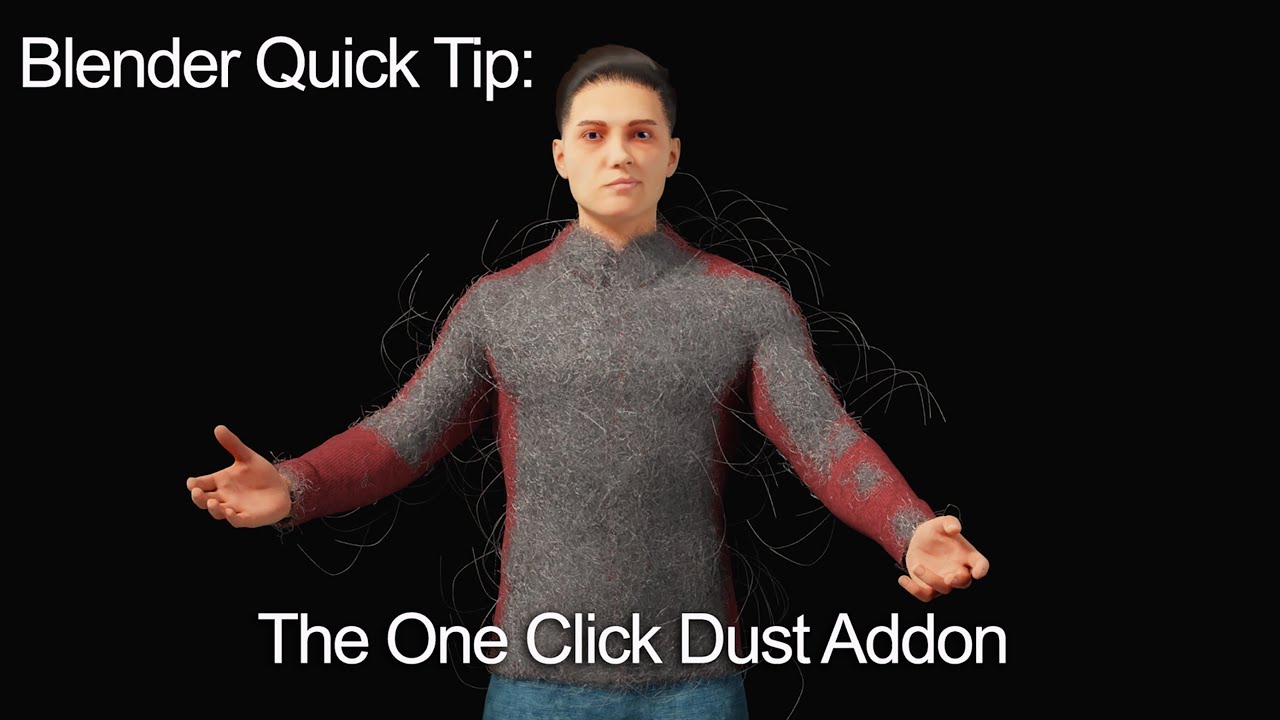 One Click Dust brings instant realism to your 3D renders with procedural dust effects
Last updated: February 26, 2026
Version: V1.0
Compatibility: Blender 3.6 - 4.5
Platform: Windows, macOS, Linux
📋 Quick Overview
- One-Click Application - Add dust effects instantly to any object
- Procedural Dust System - Non-destructive, customizable dust layers
- Floating Dust Particles - Atmospheric particles throughout the scene
- Universal Compatibility - Works with Blender 3.6 through 4.5
- Cross-Platform - Windows, macOS, and Linux support
One Click Dust is a revolutionary Blender add-on designed to bring your 3D scenes to life with realistic dust effects. With just a single click, this innovative tool adds procedural dust to any object while deploying floating dust particles throughout your scene, elevating the realism of your renders to unprecedented levels.
🎯 What Problem Does One Click Dust Solve?
The Challenge of Achieving Realism
In the real world, no surface is perfectly clean. Dust, dirt, and atmospheric particles are everywhere, and their absence in 3D renders often gives away the computer-generated nature of the image. Adding realistic dust manually requires:
- Complex node setups in the shader editor
- Time-consuming particle system configuration
- Multiple texture layers and masks
- Careful balancing of density and distribution
- Extensive rendering tests
This process can take hours of setup and tweaking for each object in your scene.
The One Click Dust Solution
One Click Dust automates this entire workflow. Simply select any object and click "Dustify" to instantly add:
- Procedural dust layers on object surfaces
- Floating dust particles in the surrounding space
- Atmospheric depth through volumetric effects
- Realistic light scattering through dust particles
The result is an immediate boost to scene realism without the technical complexity.
 Simple one-click interface for applying dust effects to any selected object
✨ Key Features
Procedural Dust Effect
The core feature of One Click Dust is its procedural dust system that adds realistic surface dust to any 3D object:
- Non-destructive workflow - Dust is applied procedurally, not baked into textures
- Automatic UV handling - Works on any object regardless of UV layout
- Adaptive distribution - Dust accumulates naturally in crevices and horizontal surfaces
- Customizable density - Control dust thickness from subtle to heavy buildup
- Color variation - Adjust dust color to match your environment
Floating Dust Particles
Create atmospheric depth with volumetric dust particles floating throughout your scene:
- Particle density control - Adjust the amount of floating particles
- Size variation - Natural distribution of particle sizes
- Animated movement - Optional subtle particle drift for still renders
- Light interaction - Particles catch and scatter light realistically
- Depth-based falloff - Density adjusts based on camera distance
 Floating dust particles add atmospheric depth and light scattering effects
Single-Click Application
The entire dust system is designed for maximum simplicity:
- Select any object in your scene
- Click "Dustify" button in the One Click Dust panel
- Adjust parameters if needed (optional)
- Render your enhanced scene
No complex node setups, no particle system configuration, no texture painting required.
Enhanced Realism
One Click Dust transforms sterile 3D renders into believable scenes:
- Surface imperfections - Breaks up perfect CG surfaces
- Atmospheric perspective - Adds depth through floating particles
- Light volumetrics - Creates visible light rays through dust
- Environmental storytelling - Suggests time, neglect, or abandonment
- Photorealistic results - Matches real-world photography
Easy to Use
Designed for artists of all skill levels:
- Intuitive panel interface - All controls in one place
- Preset options - Quick starting points for common scenarios
- Real-time preview - See changes in the viewport
- Non-destructive - Remove or adjust dust at any time
- No special knowledge required - Works out of the box
 Intuitive parameter controls for fine-tuning dust density, color, and particle settings
🛠️ Technical Specifications
| Specification | Details |
|---|---|
| Product Name | One Click Dust |
| Version | V1.0 |
| Category | Blender Add-on / Rendering Plugin |
| Primary Function | Procedural dust effect generation |
| Supported Blender Versions | 3.6, 3.7, 3.8, 4.0, 4.1, 4.2, 4.3, 4.4, 4.5 |
| Minimum Blender Version | 3.6 |
| Maximum Blender Version | 4.5 |
| Operating Systems | Windows, macOS, Linux |
| Installation Method | Standard Blender add-on (.zip file) |
| Interface Location | 3D Viewport Sidebar (N-panel) |
| Render Engine Support | Cycles, Eevee |
| File Size | ~2-5 MB (compressed) |
System Requirements
| Requirement | Specification |
|---|---|
| Operating System | Windows 10/11, macOS 10.15+, or Linux |
| Blender Version | 3.6 - 4.5 |
| RAM | 8 GB minimum, 16 GB recommended for complex scenes |
| GPU | Any GPU supported by Blender |
| Storage | 10 MB free space for installation |
📖 How to Use One Click Dust
Installation
For Blender 4.0 and Lower
- Open Blender
- Go to Edit → Preferences → Add-ons
- Click "Install..." button
- Navigate to and select the downloaded ZIP file
- Check the box to enable the add-on
For Blender 4.1 and Higher
- Open Blender
- Go to Edit → Preferences → Add-ons
- Click the dropdown menu in the top right corner
- Select "Install from Disk..."
- Navigate to and select the downloaded ZIP file
- Check the box to enable the add-on
Basic Workflow
Step 1: Select Your Object
In the 3D viewport, select any mesh object you want to add dust to.
Step 2: Open the One Click Dust Panel
Press N to open the sidebar, then find the "One Click Dust" tab.
Step 3: Apply Dust Effect
Click the "Dustify" button to instantly add dust to the selected object.
Step 4: Adjust Parameters (Optional)
Fine-tune the effect using the available controls:
- Dust Density - Control how thick the dust layer appears
- Dust Color - Match the dust to your environment
- Particle Count - Adjust floating particle density
- Particle Size - Control the size range of particles
- Animation Speed - Set particle movement speed (if animated)
Step 5: Render
Render your scene with the enhanced dust effects.
Advanced Techniques
Layered Dust Application
Apply dust multiple times with different settings for complex buildup:
- Apply base layer with low density
- Add second layer focusing on crevices
- Add third layer for heavy accumulation areas
Object-Specific Presets
Save different settings for different object types:
- Furniture - Light dust on horizontal surfaces
- Electronics - Minimal dust with particle buildup
- Outdoor objects - Heavy dust with debris
- Abandoned items - Thick, uneven dust layers
Combining with Other Effects
One Click Dust works well with:
- Surface imperfections - Scratches, fingerprints, smudges
- Weathering - Rust, decay, water damage
- Lighting - Volumetric lights, god rays
- Post-processing - Color grading, film grain
 Before and after comparison showing the dramatic realism improvement from dust effects
💡 Ideal Use Cases
Architectural Visualization
- Abandoned buildings - Heavy dust for neglected spaces
- Attics and basements - Natural dust accumulation
- Old furniture - Light dust suggesting age
- Construction sites - Airborne dust particles
Product Visualization
- Vintage products - Dust indicating age and storage
- Shelf items - Light dust on retail displays
- Stored equipment - Dust on unused items
- Antique renders - Authentic aging effects
Character & Creature Design
- Statues and sculptures - Dust on unmoving objects
- Armor and weapons - Dust from storage or battle
- Props and accessories - Environmental dust buildup
Environment Design
- Post-apocalyptic scenes - Heavy atmospheric dust
- Desert environments - Airborne sand and dust
- Indoor spaces - Natural dust accumulation
- Caves and ruins - Ancient dust layers
Motion Graphics
- Title sequences - Atmospheric dust for mood
- Product reveals - Dust particles in light beams
- Transitions - Dust clouds for scene changes
 Atmospheric dust particles catch light rays, adding depth and mood to scenes
⚠️ Important Considerations
Performance Impact
- Particle count affects viewport performance - Reduce for faster preview
- Render times may increase - More particles = longer render
- Memory usage - Complex scenes with many dust objects use more RAM
Best Practices
- Use instancing for particles - Reduces memory footprint
- Adjust density for scale - Larger scenes need different settings
- Test render at final resolution - Dust visibility changes with scale
- Consider camera angle - Dust is most visible in light beams
Limitations
- Not a replacement for texture work - Use with proper UVs for best results
- Particle count limits - Very high counts may slow down renders
- Viewport preview - May not show final render quality
🏢 About the Developer
One Click Dust is developed for the Blender community by independent plugin developers focused on creating practical workflow tools. The add-on is distributed through various Blender resource platforms.
📊 Comparison: One Click Dust vs. Manual Methods
| Feature | One Click Dust | Manual Node Setup | Manual Particle System |
|---|---|---|---|
| Setup Time | 1 click | 30-60 minutes | 20-40 minutes |
| Technical Knowledge | None required | Advanced shader knowledge | Particle system expertise |
| Non-Destructive | ✅ Yes | ✅ Yes | ⚠️ Partially |
| Works on Any Object | ✅ Yes | ⚠️ Requires UVs | ✅ Yes |
| Adjustable After Application | ✅ Yes | ✅ Yes | ⚠️ Limited |
| Floating Particles Included | ✅ Yes | ❌ No | ✅ Yes (separate setup) |
| Learning Curve | None | Steep | Moderate |
🚀 Get One Click Dust
Free Download
- Baidu Netdisk: Download Link
- Extraction Code:
8xh2
Premium Access Support
Contact us on 💬WhatsApp for premium access and support.
:::
❓ Frequently Asked Questions
Q: Does One Click Dust work with Eevee?
A: Yes, One Click Dust is compatible with both Cycles and Eevee render engines.
Q: Can I use this on animated objects?
A: Yes, the dust effect follows the object during animation. Floating particles can also be animated.
Q: Will this slow down my renders?
A: Render time impact depends on particle count. Lower particle counts have minimal impact; high counts will increase render times.
Q: Does it work on subdivision surface objects?
A: Yes, One Click Dust works on any mesh object regardless of modifiers.
Q: Can I customize the dust color?
A: Yes, dust color is fully adjustable to match your scene's environment.
Q: Is the effect baked or procedural?
A: The effect is procedural, meaning you can adjust or remove it at any time without affecting the original mesh.
Q: Does it work with Boolean modifiers?
A: Yes, One Click Dust evaluates the final mesh state, so Boolean results are properly dusted.
Q: Can I save dust presets?
A: Check the add-on panel for preset saving options, or save your scene with dust settings as a template.
Q: What Blender versions are supported?
A: One Click Dust V1.0 supports Blender 3.6 through 4.5.
Q: Does it work on curves and text objects?
A: Convert curves and text to mesh first, then apply the dust effect.
📚 Additional Resources
Related Tools
- Consider pairing with surface imperfection add-ons for complete weathering
- Lighting add-ons for volumetric light effects through dust
- Post-processing tools for final color grading
Learning Resources
- Blender particle system documentation for advanced customization
- Shader node tutorials for understanding procedural effects
- Photography references for realistic dust behavior